In this article
- Do you need photos for an insurance claim?
- What do insurance adjusters look for on roofs?
- How do you tie roof damage photos directly to Xactimate line items?
- How do you document pre-existing code items before the tear-off begins?
- How do you pair roof photos with measurement reports to justify overhead and profit?
- How should you name and organize photo files for a fast adjuster review?
- How Storm Xactimate handles this for you
- Frequently asked questions about roof insurance claim photos
- What not to say to a roof insurance adjuster?
- How do I make a successful roof leak insurance claim?
- How many photos should you take for a roof insurance claim?
- Does chalking roof damage help or hurt the claim?
A carrier-ready roof photo checklist relies on four distinct visual tiers: 360-degree ground elevations, collateral damage across exterior trades, pitch and slope overviews with chalked test squares, and macro close-ups of torn or creased shingles. If you want line items approved without weeks of supplement battles, your photos must directly substantiate specific Xactimate codes before tear-off starts. That means capturing drip edge gauge, starter course reveal, valley lining, and underlayment exposure.
Desk adjusters do not pay for damage they cannot verify in an EagleView, Hover, or GAF QuickMeasure report. When you upload organized, sequentially named files proving trade complexity and building code triggers, adjusters can reconcile an ESX file in minutes instead of slashing your scope or denying overhead and profit (O&P). Source: Storm Xactimate.
Do you need photos for an insurance claim?
Yes. Missing visual proof is the single biggest reason adjusters deny line items or delay claim approvals. Carriers rely on desk adjusters who process dozens of storm files a week and rarely, if ever, step foot on a roof deck. They evaluate your estimate PDF and photo sheet side by side. If an item is missing from the photos, it does not exist in the claim.
Without clear photos of existing components, desk adjusters routinely strip out starter strips, ice and water shield, and drip edge. These omissions trigger slow, margin-killing supplement cycles. Following a major storm, the contractor with organized documentation signs the contract while competitors waste days arguing over an incomplete initial scope.
The gap between a full Replacement Cost Value (RCV) scope and an underpaid Actual Cash Value (ACV) payout comes down to whether your photos justify your quantities. Desk adjusters match your images against measurement reports to verify every square (SQ) of shingles and linear foot (LF) of flashing. Solid photos also preempt common carrier objections, including claims of pre-existing wear, poor installation, or mechanical damage. As noted in Verisk Xactimate pricing guidelines, visual substantiation is strictly required before specialty trades, code upgrades, and steep charges will be approved on local price lists.
What do insurance adjusters look for on roofs?
Field and desk adjusters follow strict visual criteria to validate wind and hail losses, building a clear chain of evidence that ties physical damage to documented storm dates.
They start with collateral evidence on the ground. Before climbing a ladder, an adjuster scans for soft metal strikes. You must capture clear photos of hail dents on box vents, turtle vents, gutter faces, downspouts, window screens, and AC condenser fins. This documentation establishes hail size and storm directionality, matching your field findings directly to NOAA storm event records for the 2026 storm season.
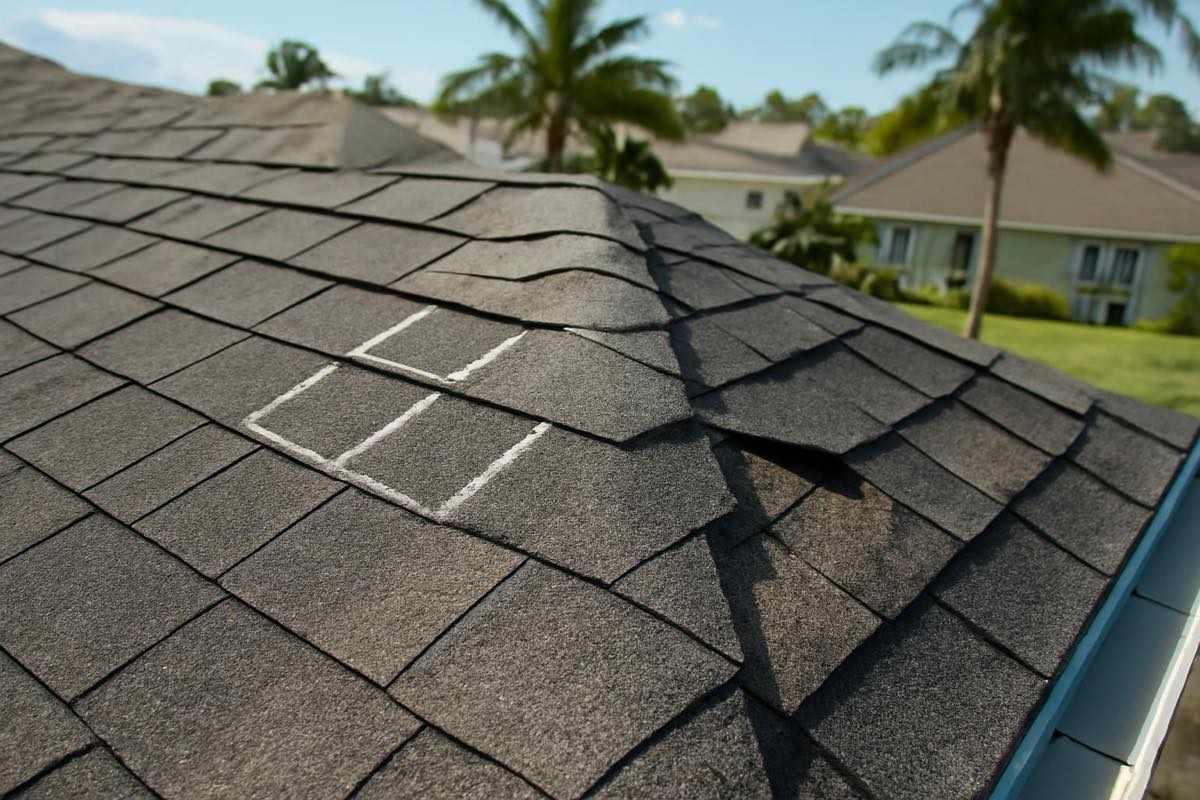
Next comes the test square. Adjusters expect a chalked 10x10 foot box (1 SQ) on each damaged slope. Take a wide photo showing the slope orientation, followed by close-ups documenting every verified hit inside the grid.
For wind damage, adjusters look for uplift and material failure: creases, broken thermal seals, and missing tabs. Capturing a wind crease requires raking light. Aim a strong flashlight or use the sun at an angle parallel to the deck; shooting straight down creates glare that washes out the crease. Per HAAG engineering standards, clear visibility of the fractured fiberglass mat is necessary to classify the anomaly as wind damage.
Finally, document penetrations and transitions. Take sharp photos of pipe boots, base flashings, step flashing, valley metal, and ridge caps. Because these areas fail first in severe wind, their physical condition dictates whether you are writing for an isolated repair or a full deck and flashing replacement.
How do you tie roof damage photos directly to Xactimate line items?
Connecting field photography to Xactimate codes keeps your scope intact by removing guesswork for the desk adjuster. Aim your lens at the structural details that correspond directly to your price list:
- Metal drip edge: Photograph eaves and rakes with a tape measure held against the profile. This establishes the gauge, style (T-style or D-style), and any storm-related uplift or tears, validating codes like RFG DRIP (standard drip edge) or RFG DRIPX (heavy-gauge).
- Starter course: Never assume an adjuster will automatically include this. Lift an eave shingle tab slightly to photograph the layer beneath, showing whether the previous installer used an inverted 3-tab shingle or a dedicated factory starter strip. This proves line item RFG STRIP.
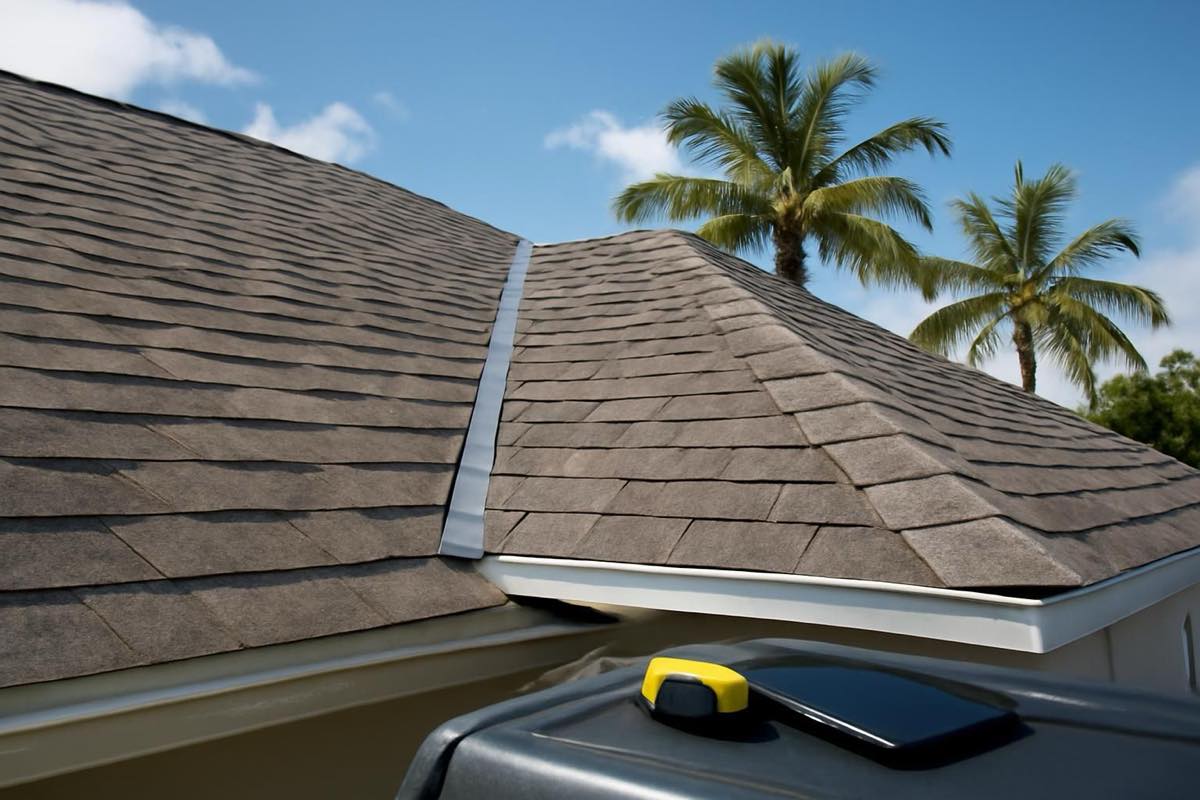
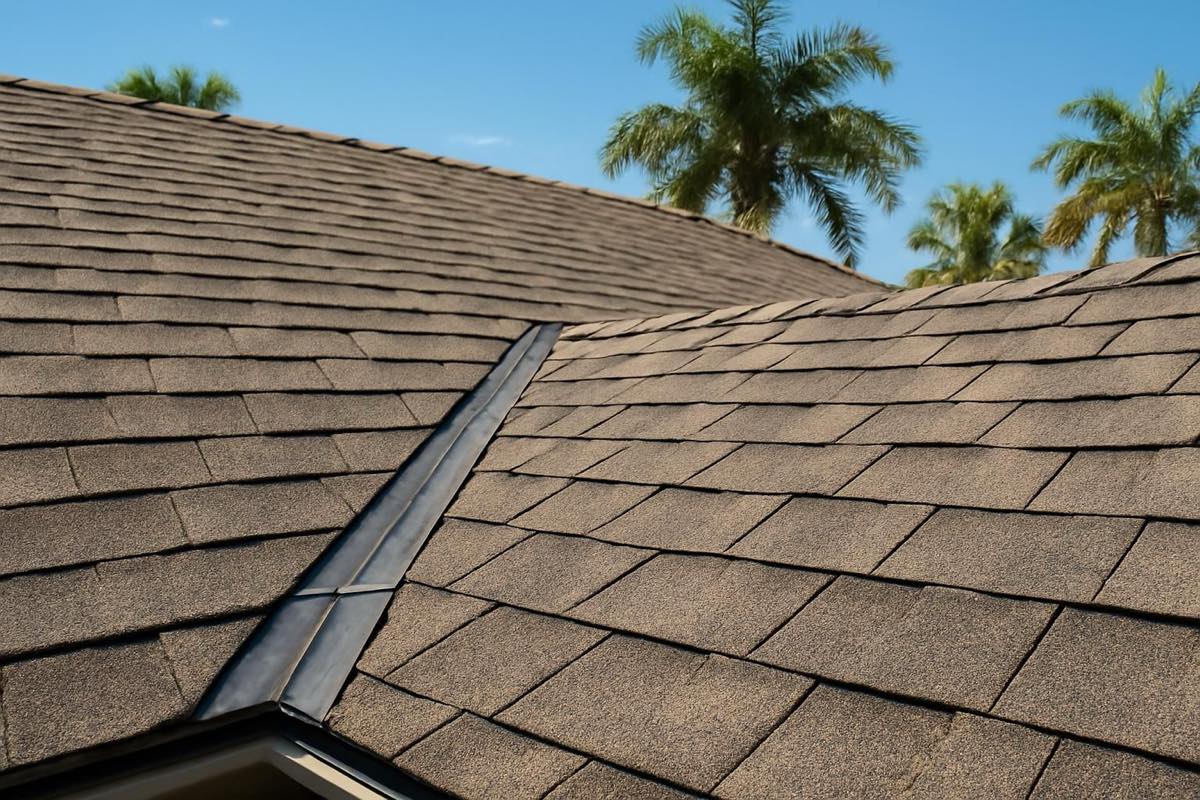
- Valleys and transitions: Shoot the structural layout to distinguish open metal from closed-cut valleys. Clear images justify line items for valley metal (RFG VALM) or ice and water barrier (RFG IWS).
- Ridge and hip capping: Take profile and cross-section shots of hip and ridge lines. Blurry ground photos often get priced as basic 3-tab caps (RFG RIDGC), whereas sharp close-ups justify high-profile laminated accessories (RFG RIDGCH). Cross-reference these details with the Florida Building Code, specifically Residential Section R905.2.8.5, to prove your linear footage for drip edge and underlayment tie-ins meets mandatory local codes.
How do you document pre-existing code items before the tear-off begins?
Once old shingles and felt land in the dump trailer, your leverage disappears. If you fail to document existing code components before clearing the deck, adjusters will routinely deny corresponding upgrades.
Start along the eaves and rakes. Take macro shots showing whether drip edge is installed and note whether it was nailed over or under the felt paper. That detail determines proper tear-off methods and the materials needed to meet current installation standards.
Next, expose the valleys and eaves. Carefully pull back surface layers to confirm whether an ice and water shield exists. If the existing roof lacks protection but current 2026 codes require it, these photos establish the undeniable baseline needed to add those LF and SQ quantities to your scope.
Finally, look for fastening errors. Photograph exposed nail lines on blown-off shingles to document high-nailing, over-driven nails, or inadequate fastening schedules. Showing that the old roof failed because of prior installation issues during a storm forces the carrier to cover necessary corrections. Tie these photos to Florida Building Code Chapter 9 (Roof Assemblies) covering underlayment, valleys, and eave flashing to justify code-compliant restoration.
How do you pair roof photos with measurement reports to justify overhead and profit?
Carrier pushback on general contractor Overhead and Profit (O&P) is common. Overcoming it requires combining clear damage photography with structural complexity drawn from your digital reports.
Apply the three-trade rule. O&P applies when a job demands coordination across multiple distinct trades. Photograph separate, storm-related damage to the roof, gutters, fascia, exterior drywall, or exterior paint. This multi-trade documentation substantiates your role managing distinct crews, meeting FEMA guidelines and standard carrier thresholds.
Document access limits and site hazards next. Show the carrier why standard labor rates fall short on this project. Take wide shots capturing steep slopes (7/12, 9/12, or higher), multi-story drops, zero-lot-line access constraints, and heavy landscaping that blocks material drops.
Tie those field shots to your EagleView, Hover, or GAF QuickMeasure report. If the diagram reflects high waste factors from hips, valleys, dormers, and multiple facets, your photos must corroborate that complexity from both the ground and the roof. Backing up measurement data with visual proof prevents desk adjusters from dismissing your scope as basic, single-trade work.
How should you name and organize photo files for a fast adjuster review?
Dumping dozens of raw files labeled IMG_4932.jpg into a carrier portal slows down your review. Disorganized uploads crash ingest tools and frustrate desk adjusters.
Adopt a standardized naming convention: [ClaimNumber]_[Trade]_[Slope/Elevation]_[Item]_[Number]. An example: CLM1234_Roof_FrontSlope_DripEdge_01.jpg.
Order your photos to match a logical walk-around:
- Front, Right, Rear, and Left ground elevations
- Ground-level collateral damage
- Roof slope overviews
- Chalked test squares
- Macro details (flashing, starter, drip edge, valley lining)
Cut out blurry shots, duplicates, and unmarked photos. Verisk file attachment standards note that portals regularly flag bloated, unorganized files. Export your curated images into a clean PDF report with timestamps and GPS metadata preserved to confirm date and location.
How Storm Xactimate handles this for you
Storm Xactimate creates carrier-ready Xactimate roof estimates for residential contractors, freeing you up to sell instead of wrestling with software. You supply the claim info, roof specifications, job photos, and an EagleView, Hover, or GAF QuickMeasure report. If you do not have a measurement report, Storm Xactimate orders one for you—the report is included in the service.
Estimates are written in Xactimate using local price lists to capture drip edge, ice and water shield, starter strip, and O&P supported by your photos. Every estimate is reviewed by an experienced estimator before delivery. Within 24 hours of receiving complete project details, you get an estimate PDF, ESX file, roof diagrams, and an organized photo report branded with your logo. If an adjuster pushes back or short-scopes the project, submit their response within 30 days of delivery for one included revision or supplement round.
Start an estimate with Storm Xactimate.
Frequently asked questions about roof insurance claim photos
What not to say to a roof insurance adjuster?
Never speculate on the age of the roof, guess when leaks started, or agree that damage is normal wear and tear or manufacturing defects. Stick strictly to facts verifiable in your photos and the storm dates recorded by meteorological reports. Do not give informal opinions on structural integrity or discuss coverage terms; focus solely on the physical scope of work required to restore the roof.
How do I make a successful roof leak insurance claim?
To document a roof leak successfully, pair interior moisture and ceiling damage photos directly with the entry point on the roof surface. Photograph the stained drywall, attic decking water stains, saturated insulation, and the failed flashing, valley, or wind-damaged shingle directly above that penetration. Without this structural chain of evidence linking exterior storm damage to interior water intrusion, adjusters often classify leaks as maintenance issues.
How many photos should you take for a roof insurance claim?
A standard residential roof replacement typically requires 30 to 60 organized photos. This includes 4 wide elevation shots, 4 to 8 collateral damage photos (gutters, AC fins, siding), 1 overview per roof slope, chalked 10x10 test squares for damaged slopes, and clear macro shots of damaged line items like drip edge, valley lining, flashing, and ridge caps.
Does chalking roof damage help or hurt the claim?
Chalking damage helps desk adjusters identify hail strikes and wind creases instantly in digital portals. Use lumber marking chalk or standard sidewalk chalk to circle shingle fractures, highlight crease lines, and define test square boundaries. Do not use permanent paint or markers, as carriers can reject photos claiming the marking obscured the actual surface condition.